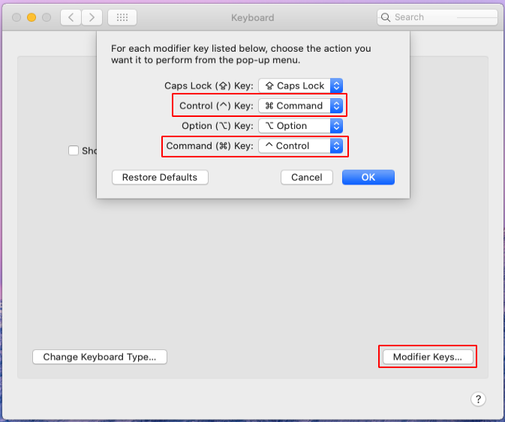
Note: The code above assumes you are have substituted the Command Key for the Control Key in “Keyboard => Modifier Keys…” (see screenshot below). If you haven’t, you can try changing the comment between the commented and uncommented blocks.
This document will provide instructions on getting a macOS Catalina install working with Guest Additions on VirtaulBox 6.1.
Start by downloading a copy of the installer from the App Store. You will need a computer running macOS and you will need to convert the installer to an ISO. I will not be covering these steps here, but there are plenty tutorials online.
Installing VirtualBox
I’m hoping you already have this part covered and you are coming here only because you had issues getting macOS installed, but just in case, make sure the following packages are installed (Arch):
$ pac list virtualbox
local/virtualbox 6.1.6-1
    Powerful x86 virtualization for enterprise as well as home use
local/virtualbox-ext-oracle 6.1.6-1
    Oracle VM VirtualBox Extension Pack
local/virtualbox-guest-iso 6.1.6-1
    The official VirtualBox Guest Additions ISO image
local/virtualbox-host-modules-arch 6.1.6-1
    Virtualbox host kernel modules for Arch Kernel
Creating the VM
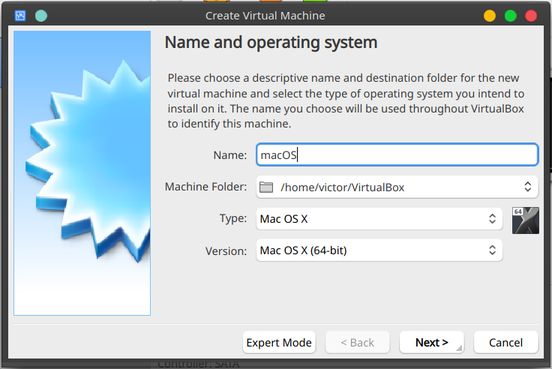
Start by creating a new VM. Give it a name without spaces.
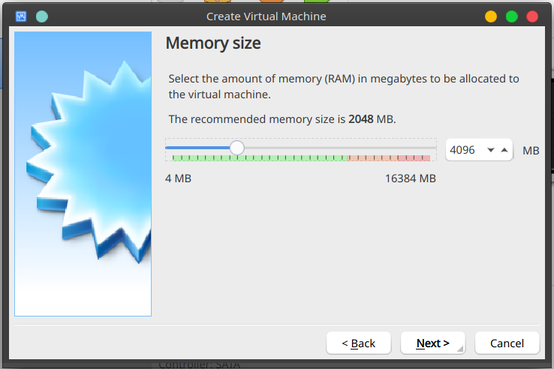
Give it enough memory so the install will run faster. We can change this later.
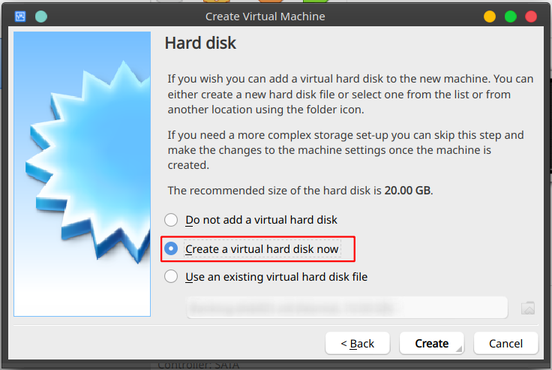
Select to create a new Virtual Hard Disk
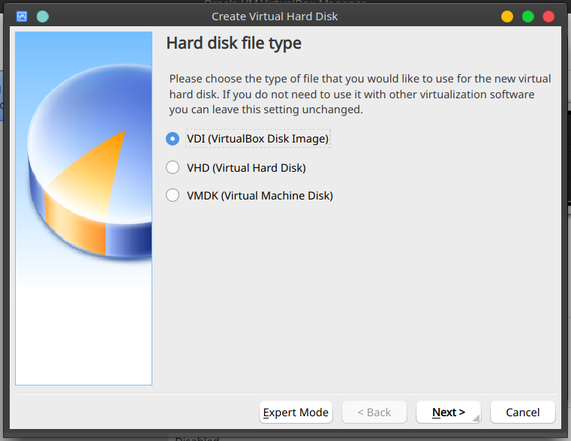
Select VDI
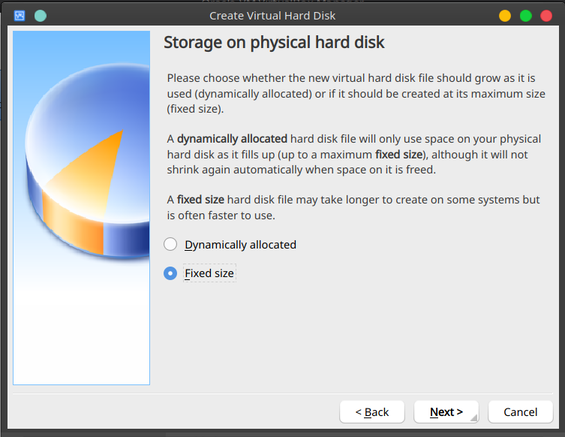
Select fixed size
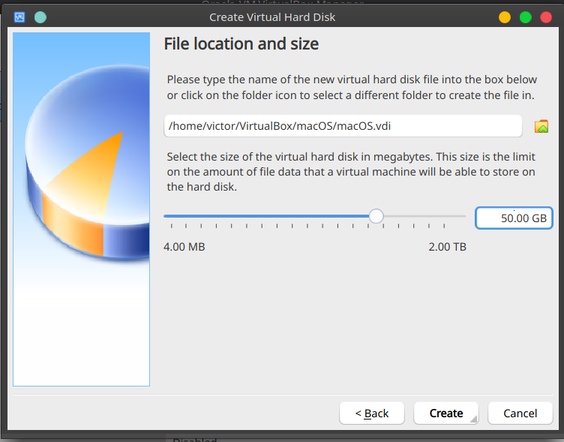
Give it a bare minimum of 25GB (I would advise on at least 50GB if you can spare the space)
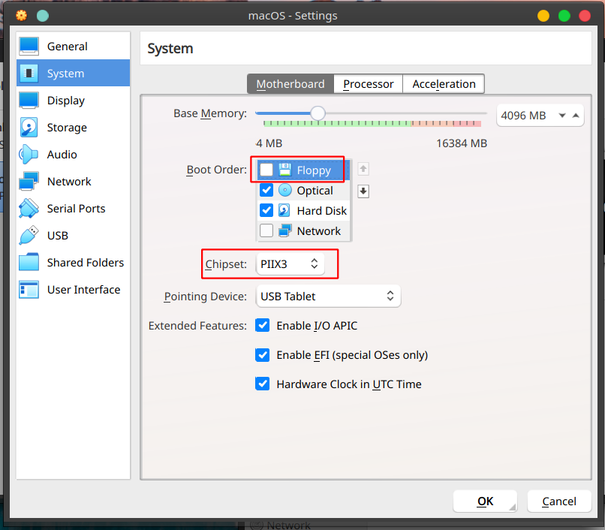
Edit the machine, go into “System => Motherboard” and disable floppy boot and change the chipset to PIIX3
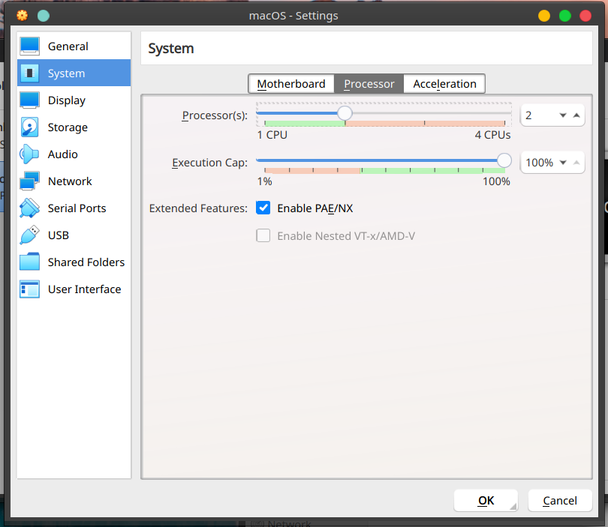
In the processor give more CPU if you can spare
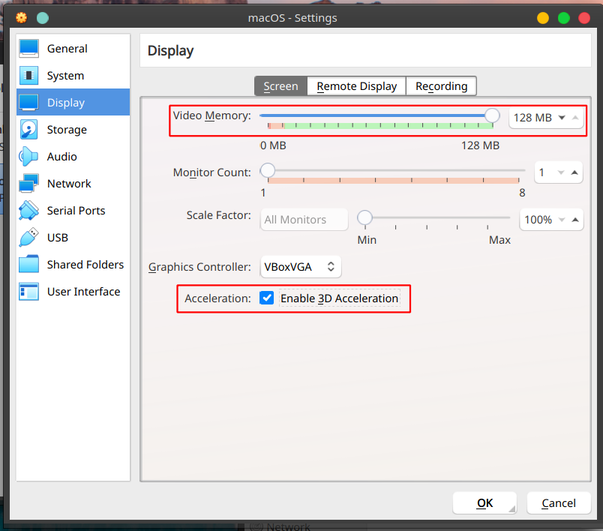
In “Display => Screen” increase the video memory to 128MB and enable 3D acceleration
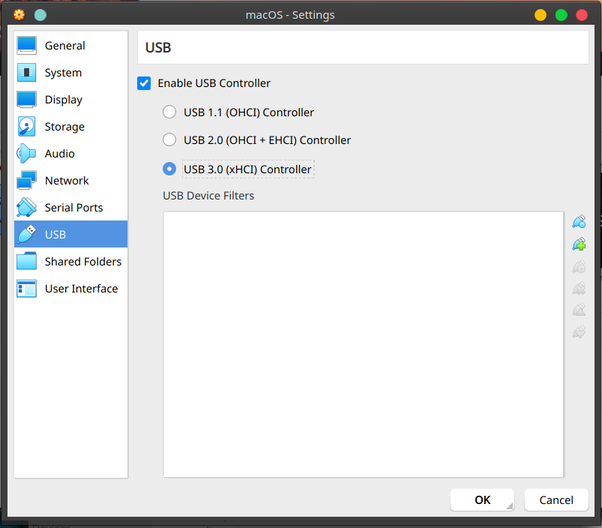
Enable USB 3.0
Note: if you can’t see USB 3.0 you might need to add your user to the vboxusers group
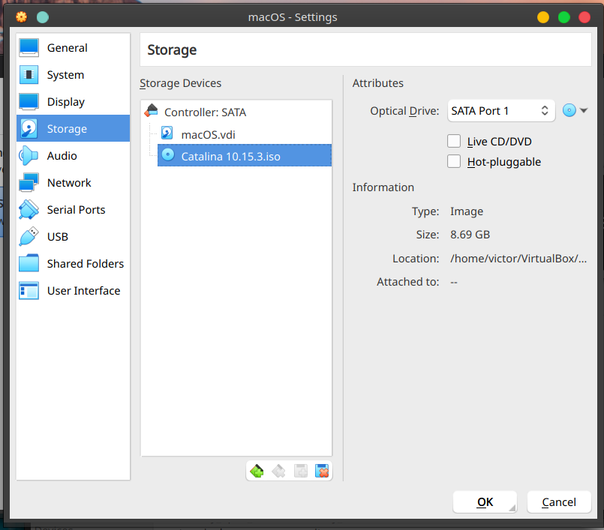
Insert the install ISO
Additional Configuration
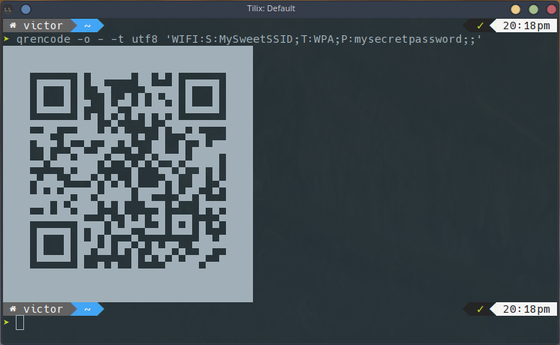
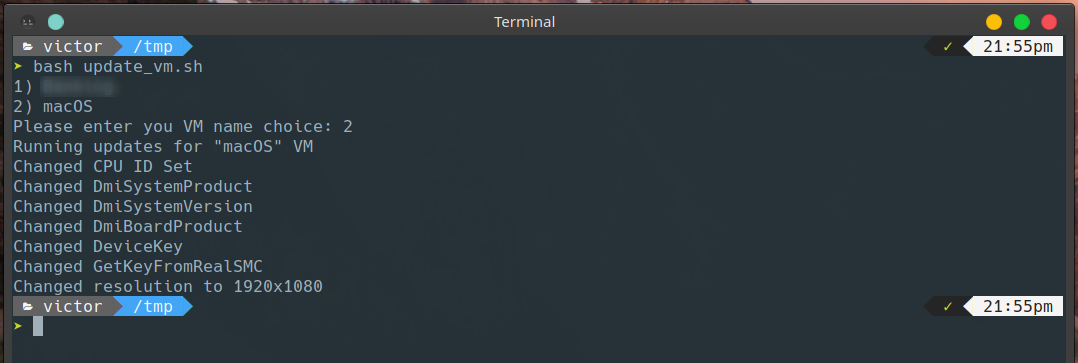
Now we need to run a few vboxmanage commands for additional settings. Either run the lines with vboxmanage from the script below (add your virtual machine name under $vm_name), or save the full script and run it.
Note: the default resolution is set to “1280x1024”. You can change it in the last line of the update code. Make sure to keep it to “640x480, 800x600, 1280x1024, 1440x900, 1900x1200“
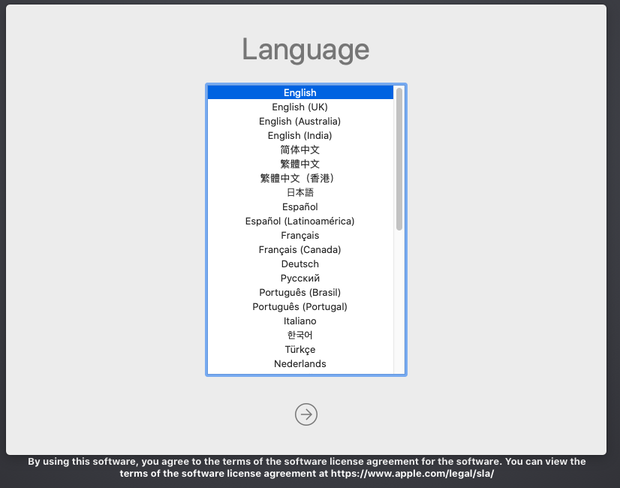
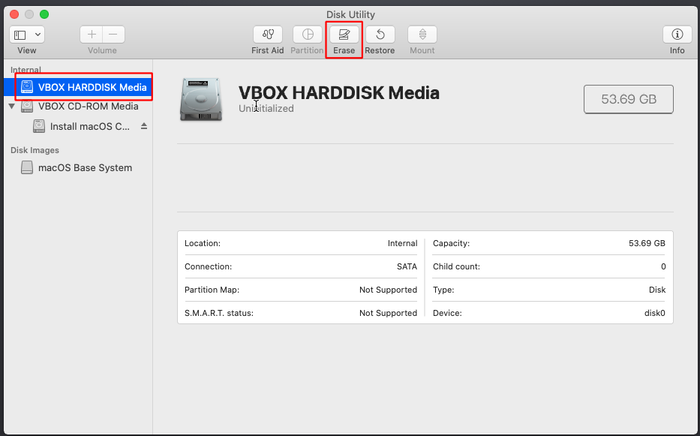
We are now ready for the install. Start the machine and select you language.
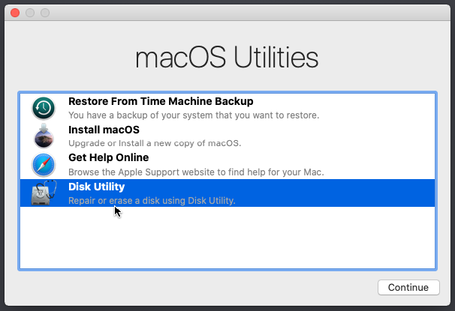
Select disk utility.
Select the VirtualBox hard disk and click on erase.
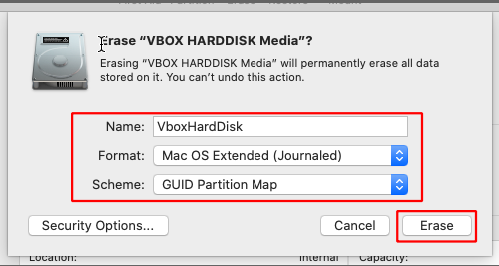
Give it a name, select the same options and click on erase. Close the disk utility when done.
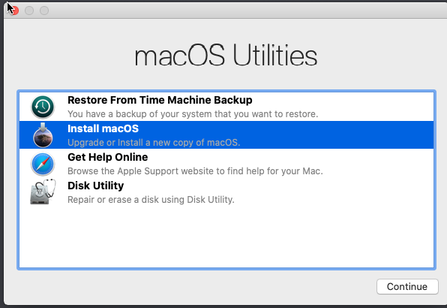
Click on install macOS.
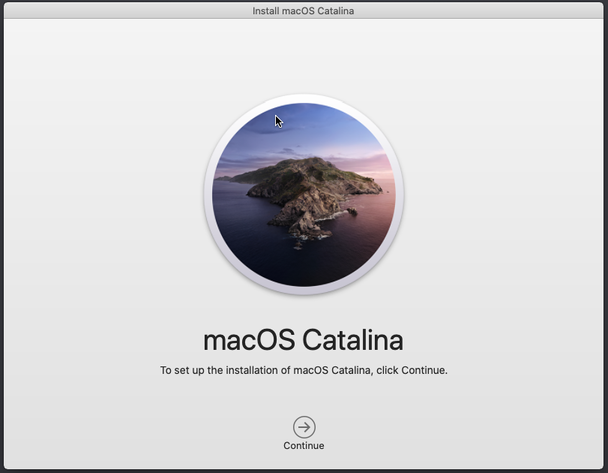
Continue with the install as you would until you are presented with the desktop.
Note that the installer will reboot once in the middle of the install.
Installing Guest Additions
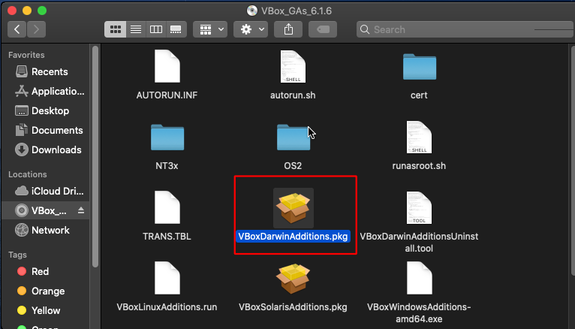
We now need to get Guest Additions installed. Remove the install ISO and mount the guest additions CD. Open it with finder and run the VBoxDarwinAdditions.pkg
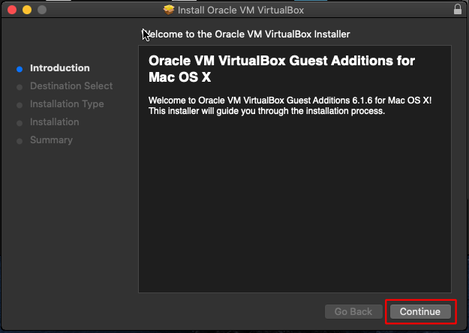
Install it as if you would install any other package.
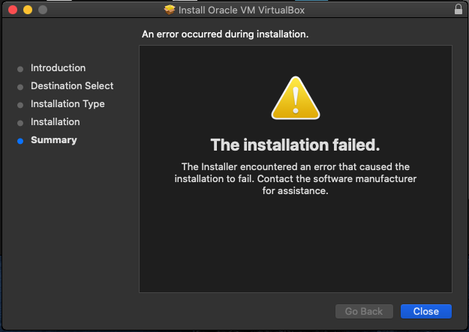
You will most likely get an error message that the install has failed.
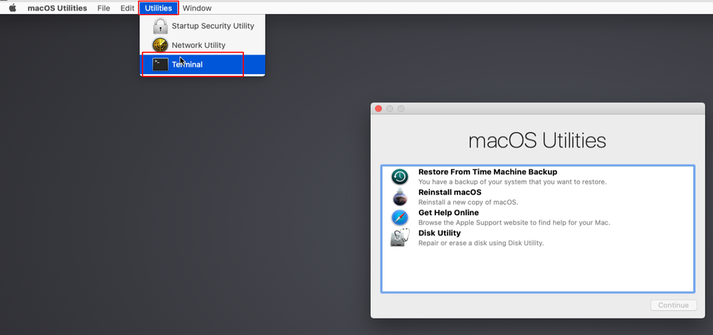
Close everything, unmount the guest additions CD and open a terminal window (Command+Space, type terminal).
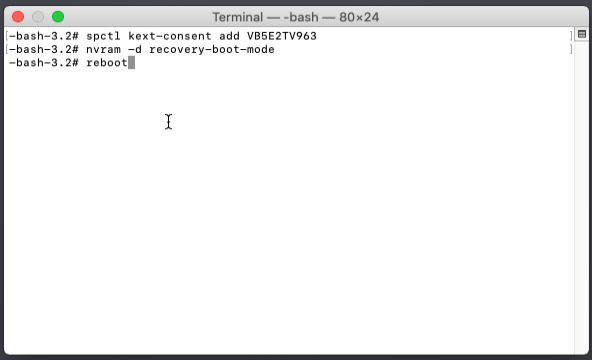
Now we need to restart the VM in recovery mode. Type in:
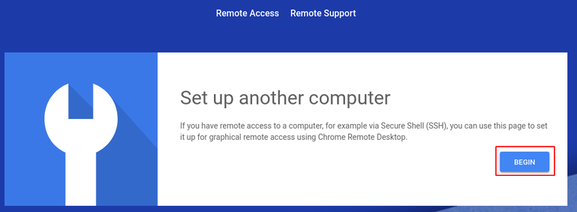
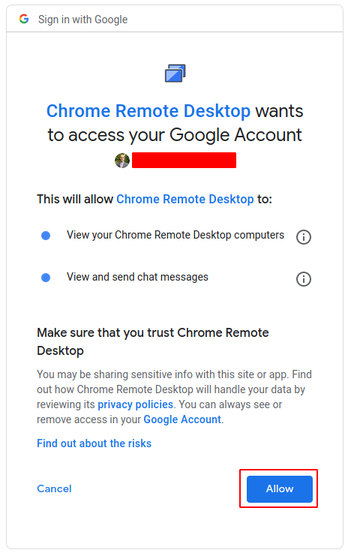
Chrome Remote Desktop has been around for quite a while, but now Google offers a .deb installer with native Linux support via Systemd. This is great because it removes the need to setup VPNs and VNC to remote connect to your machines, or in the case that you need to land a hand to a not so technical savvy family member or friend.
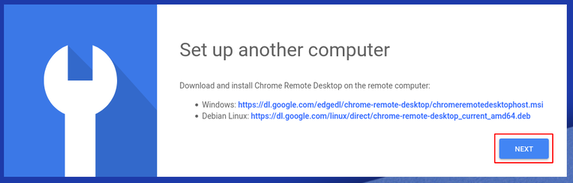
Unfortunately the installer is only for Ubuntu (and Debian based distros), but with a few steps we can get it running on Arch, and (thanks to a patch by nightuser) even configure it to use existing X sessions instead of creating a new one (which is the default behavior).
As expected, the packages exists in the AUR, so the install should be pretty simple.
Instructions
Install
a. Install chrome-remote-desktop from the AUR
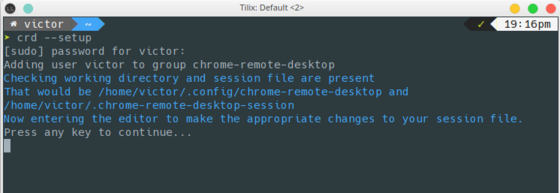
b. Run crd --setup to configure your connection. Hit any key
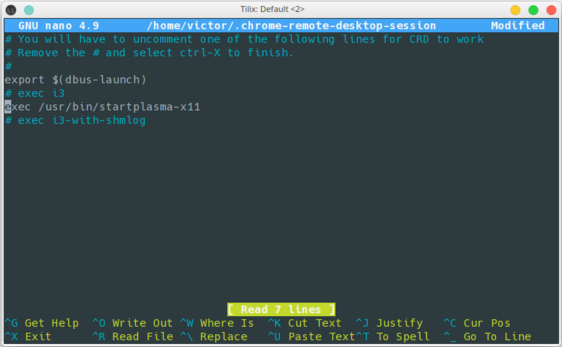
c. Select your Desktop Environment (I selected KDE which is what I use) and save the file
d. Press any key again
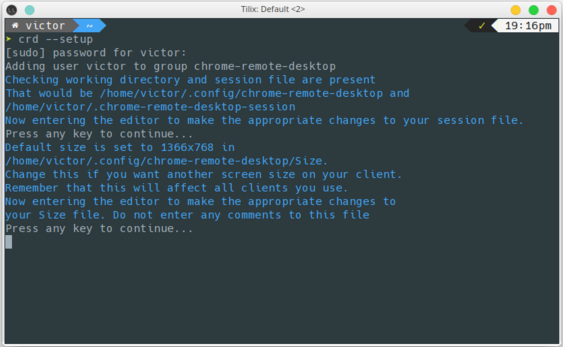
e. Enter a new resolution if you would like to use something different than the default (1366x768). Save the file
f. You should see the confirmation that the setup is complete
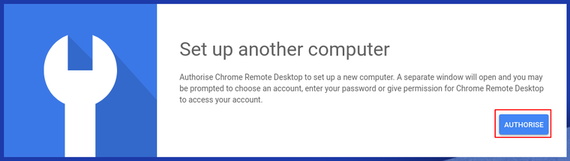
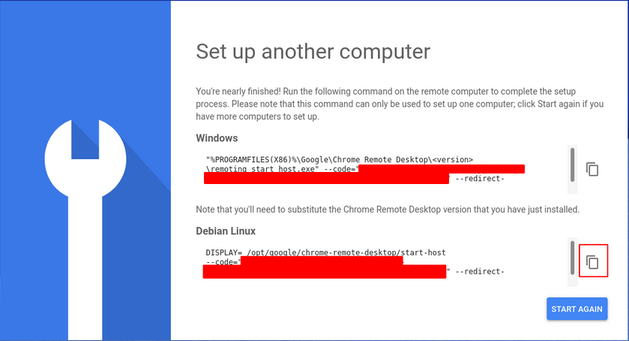
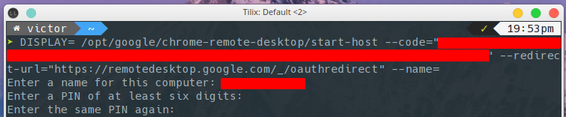
l. Click on the copy the button and paste it on your terminal
m. Give the computer a friendly name and a pin to access it
You should get a confirmation that everything went ok
Starting Xvfb on display :20
X server is active.
Launching X session: ['/bin/sh', '/home/victor/.chrome-remote-desktop-session']
Launching host process
['/opt/google/chrome-remote-desktop/chrome-remote-desktop-host', '--host-config=-', '--audio-pipe-name=/home/victor/.config/chrome-remote-desktop/pulseaudio#ae6329c099/fifo_output', '--server-supports-exact-resize', '--ssh-auth-sockname=/tmp/chromoting.victor.ssh_auth_sock', '--signal-parent']
wait() returned (1092272,0)
Host ready to receive connections.
Log file: /tmp/chrome_remote_desktop
Additional Configuration
The additional configuration will allow you to connect to an existing session instead of creating a new one when connecting.
a. Find what display number X is using
$ echo $DISPLAY
:0
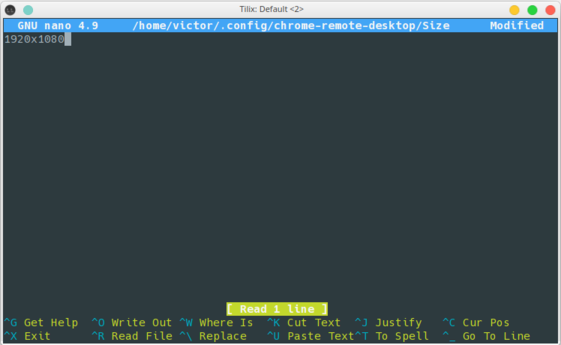
b. Create a file in ~/.config/chrome-remote-desktop/Xsession with the display value
d. Check if it stopped with crd --status. If it did not, stop it with crd --stop
$ crd --status
CRD status: STOPPED
e. Take a backup of /opt/google/chrome-remote-desktop/chrome-remote-desktop
f. Download the patched/opt/google/chrome-remote-desktop/chrome-remote-desktop to the same location, or follow the instructions to manually modify your file here.
Note: The patched version was tested with chrome-remote-desktop 81.0.4044.60-1
g. Start the agent with crd --start so you can see verbose output. You should receive a confirmation when it starts
$ crd --start

Launching X server and X session.
Using existing Xorg session: 0
Launching host process
['/opt/google/chrome-remote-desktop/chrome-remote-desktop-host', '--host-config=-', '--audio-pipe-name=/home/victor/.config/chrome-remote-desktop/pulseaudio#ae6329c099/fifo_output', '--ssh-auth-sockname=/tmp/chromoting.victor.ssh_auth_sock', '--signal-parent']
Host ready to receive connections.
Log file: /tmp/chrome_remote_desktop_20200402_202207_2vtQSb
I had some free time this weekend and decided to upgrade my FreeNAS. I went from 11.1 to 11.3-UI and the upgrade installed without any issues. However, after the reboot I discovered that my jails and plugins were missing from the UI and that they were not running. I had read the manual (FreeNAS® 11.3-U1 User Guide) before the upgrade and and the instructions did not mention anything about the plugins, so I was little worried.
After spending a lot of time researching I discovered that on FreeNAS 11.2 the project started to use the ‘iocage’ jail method instead of ‘warden’. FreeNAS 11.2 had the option of migrating your jails, and it could even display then from the UI. But for 11.3-UI that was no longer an option.
If you are on the same boat as me, the instructions below will help you quickly re-create a new Plex jail a move your old data to the new jail. If you have not upgraded to 11.3-UI you might want to convert your jail before upgrading. There are a lot of tutorials on-line on how to convert your jail that might be more useful to you.
Instructions
a. Create the plex user with UID 972 (this is the username and UID that is used by the project)
b. If desired, create a new Dataset to have Plex data outside of the plugin Dataset. I won’t go into details for this type of setup here as I keep my Plex data inside the Plex plugin Dataset
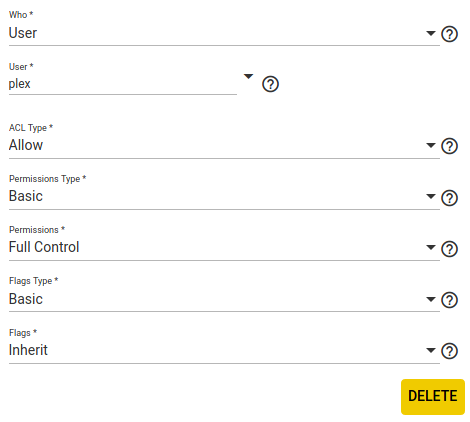
e. Go to ‘Storage => Pools’ and edit the ACL for the Dataset where your media is saved. We want to give access to the ‘plex’ user (in case the files are not owned by ‘plex’)
f. With the plugin still stopped, copy the old installation data folder from the old plugin Dataset to the new plugin Dataset
Note: The JAIL_ROOT location will vary between different FreeNAS versions:
FreeNAS 11.1 and bellow (warden) - JAIL_ROOT=/mnt/[Volume]/jails/[JAIL_NAME]
FreeNAS 11.2 and above (iocage) - JAIL_ROOT=/mnt/[Volume]/iocage/jails/[JAIL_NAME]
Source for your old Plex plugin (warden)
If installed manually
${JAIL_ROOT}/root/usr/local/plexdata/Plex Media Server/
If installed via plugin
${JAIL_ROOT}/var/db/plexdata/Plex Media Server/
Destination (iocage)
${JAIL_ROOT}/root/Plex Media Server/
g. In the jails configuration menu, select the new Plex jail and add the mount point for the media folder. Try to keep the same path as the old jail so you won’t have to edit your library. If you don’t remember that the path was, you can access it by looking at the contents of /mnt/[Volume]/jails/.[JAIL_NAME].meta/fstab