Preamble
When I bought my new and shinny Lenovo P1 at the beginning of the year I choose a configuration that had 2 NVMe drives; one of 500GB and the other of 256GB. Innocently I thought that this would be plenty. But since I started hogging my test VMs and creating videos with my GoPro and DaVinci Resolve (while we are here, check out my YouTube channel), that storage space quickly became too small and I knew I had to update my storage!
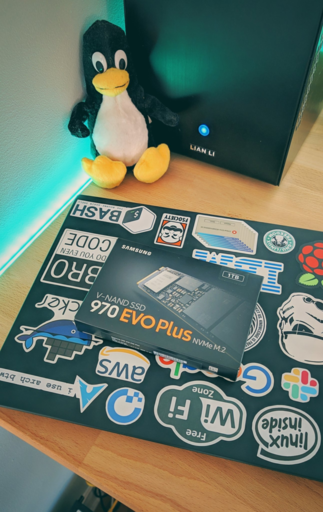
Taking advantage of a great Black Friday deal I scored a 1TB Samsung 970 Evo Plus NVMe drive for almost half the price.
Preparation
I had my hard drives organized into partitions as follows:
nvme0n1             259:0    0 476.9G  0 disk
├─nvme0n1p1         259:1    0   250G  0 part /home
└─nvme0n1p2         259:2    0 226.9G  0 part /mnt/storage2
nvme1n1             259:3    0   256G  0 disk
├─nvme1n1p1         259:4    0   512M  0 part /efi
├─nvme1n1p2         259:6    0    32G  0 part [SWAP]
├─nvme1n1p2         259:7    0   110G  0 part /
└─nvme1n1p2         259:8    0    96G  0 part /mnt/storage1
The partitions ‘storage1’ and ‘storage2’ are used for video and virtual machine storage.
My plan was to replace the smaller drive and copy my partitions to the new drive as LV. This is pretty straight forward, you just need some additional steps if your root partition will be in the LV. I’m however leaving my EFI partition as a standard partition for simplicity and compatibility.
If you are using this post as a guide, please take the time to compare my configuration to yours and make sure that it will work for you. You will most likely need to tweak a few steps. Also note that I’m running Arch, so my instructions will be directed to it.
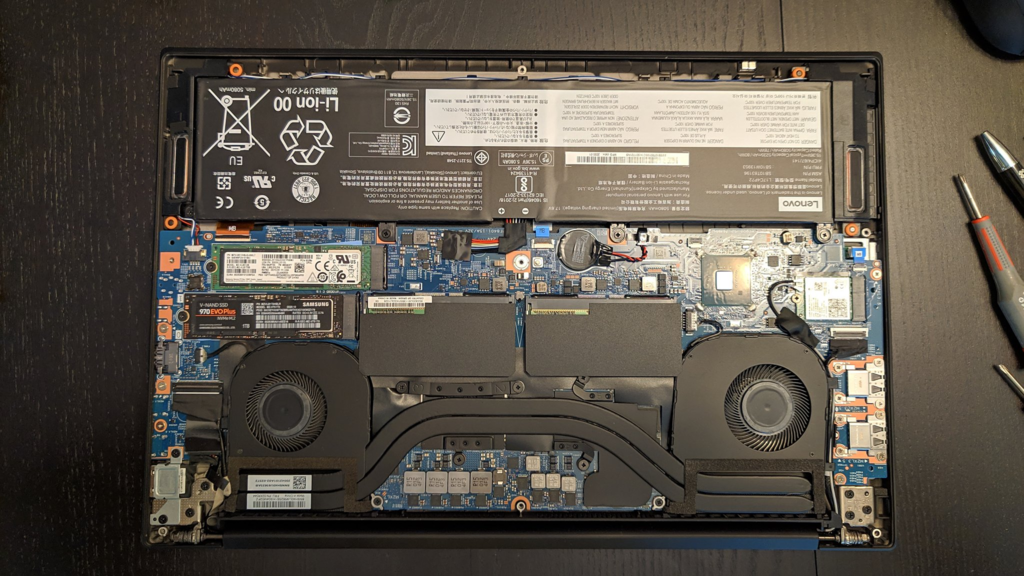
And finally, if you are adding a new drive, don’t forget to do it now. I installed the new drive and used a USB-C enclosure to access my old drive.
⚠️ WARNING: We will be using dd to copy the old data. Make sure to select the right partition and more importatnly, the right direction because dd will erase all your data.
New NVMe installed
Instructions
Creating the LV and Copying the Data
a. Power off the machine and boot into an Arch install ISO
b. Create an EFI and a LVM partition using gdisk (I’m not getting in details on this, but there are plenty of tutorials online). Make sure the EFI partition is the same size as your old one
Here’s my layout. My the new drive shows as /dev/nvme1n1
Device           Start        End    Sectors  Size Type
/dev/nvme1n1p1    2048    1050623    1048576  512M EFI System
/dev/nvme1n1p2 1050624 1953525134 1952474511  931G Linux LVM
c. Copy the old EFI partition to the new EFI partition with dd (note that my old drive mounted via the USB-C enclosure now shows as /dev/sdb)
# dd if=/dev/sdb1 of=/dev/nvme1n1p1 bs=4M
d. Create the PV/VG
# vgcreate root_vg /dev/nvme1n1p2
e. Create the logical volumes. Make sure that they have the same size as the old partitions
# lvcreate -n swap -L 32G root_vg
# lvcreate -n root -L 110G root_vg
# lvcreate -n storage -L 96G root_vg
f. Formart the swap partition (there’s not need to copy it, so we just recreate it)
# mkswap -L swap /dev/root_vg/swap
g. Copy the root partition
# dd if=/dev/sdb3 of=/dev/root_vg/root bs=4M
h. Copy the storage partition (or any other partition if you had it)
# dd if=/dev/sdb4 of=/dev/root_vg/storage bs=4M
i. Our new drive is now created and populated with the old data
# lsblk
nvme0n1             259:0    0 476.9G  0 disk
├─nvme0n1p1         259:1    0   250G  0 part /home
└─nvme0n1p2         259:2    0 226.9G  0 part /mnt/storage2
nvme1n1             259:3    0 931.5G  0 disk
├─nvme1n1p1         259:4    0   512M  0 part /efi
└─nvme1n1p2         259:5    0   931G  0 part
  ├─root_vg-swap    254:0    0    32G  0 lvm  [SWAP]
  ├─root_vg-root    254:1    0   110G  0 lvm  /
  └─root_vg-storage 254:2    0    96G  0 lvm  /mnt/storage1
Additional Configuration
We now need to fix our EFI and GRUB to make sure we can boot into our LV partition.
a. Mount root
# mkdir /mnt/root

# mount /dev/root_vg/root /mnt/root
b. Enter chroot of our copied data
# arch-chroot /mnt/root
c. Mount our EFI partition
# mount /dev/nvme1n1p1 /efi
d. Fix fstab for the swap partition (because we did not copy our swap partition, a new UUID was generated. We need to change /etc/fstab with that new partition UUID)
UUID=d9e1b4f1-40eb-4bb6-908c-33012c7c0902 none swap defaults 0 0
e. Edit /etc/mkinitcpio.conf and add lvm2 to HOOKS
HOOKS=(base udev ... block lvm2 filesystems)
f. Generate the ramdisk environment to boot the kernel
# mkinitcpio -P
g. Re-install GRUB
# grub-install --target=x86_64-efi --efi-directory=/efi --bootloader-id=GRUB
h. Enable the LVM module for GRUB by editing /etc/default/grub and adding the lvm module to GRUB_PRELOAD_MODULES
# Preload both GPT and MBR modules so that they are not missed
GRUB_PRELOAD_MODULES="part_gpt part_msdos lvm"
i. Re-create GRUB config
# grub-mkconfig -o /boot/grub/grub.cfg
j. Unmount /efi
# umount /efi
k. Exit chroot
# exit
l. Unmount root
# umount /mnt/root
m. Power off, remove the old drive and the Arch iso and reboot
# poweroff
If everything was done correctly you should be able to boot your system normally. If something is not working don’t panic. Your data should be safe and sound on your old drive. Review your steps, do additional research for anything specific to your configuration and try again.
Reference: