This document will provide instructions on getting a macOS Catalina install working with Guest Additions on VirtaulBox 6.1.
Start by downloading a copy of the installer from the App Store. You will need a computer running macOS and you will need to convert the installer to an ISO. I will not be covering these steps here, but there are plenty tutorials online.
Installing VirtualBox
I’m hoping you already have this part covered and you are coming here only because you had issues getting macOS installed, but just in case, make sure the following packages are installed (Arch):
$ pac list virtualbox
local/virtualbox 6.1.6-1
    Powerful x86 virtualization for enterprise as well as home use
local/virtualbox-ext-oracle 6.1.6-1
    Oracle VM VirtualBox Extension Pack
local/virtualbox-guest-iso 6.1.6-1
    The official VirtualBox Guest Additions ISO image
local/virtualbox-host-modules-arch 6.1.6-1
    Virtualbox host kernel modules for Arch Kernel
Creating the VM
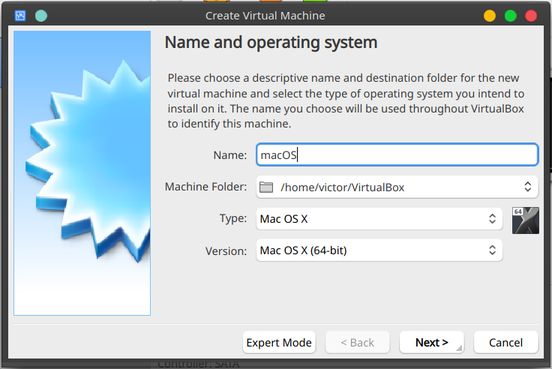
Start by creating a new VM. Give it a name without spaces.
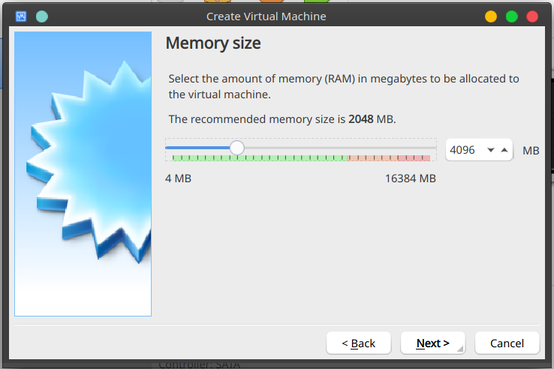
Give it enough memory so the install will run faster. We can change this later.
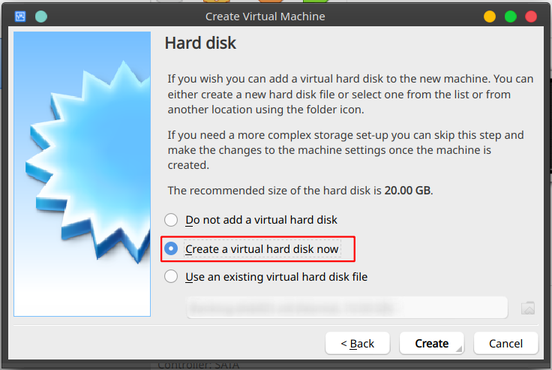
Select to create a new Virtual Hard Disk
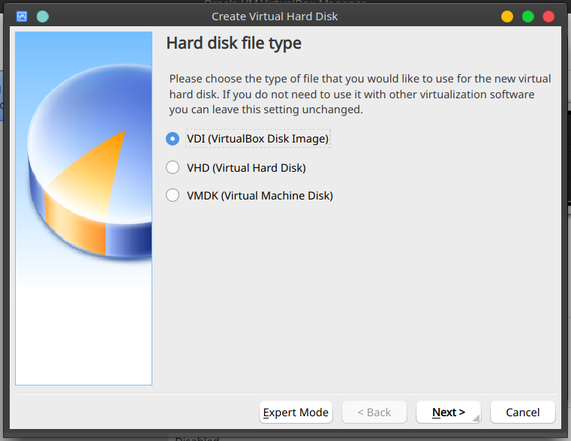
Select VDI
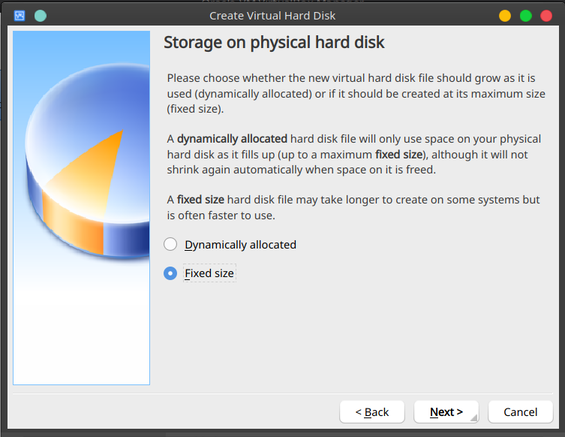
Select fixed size
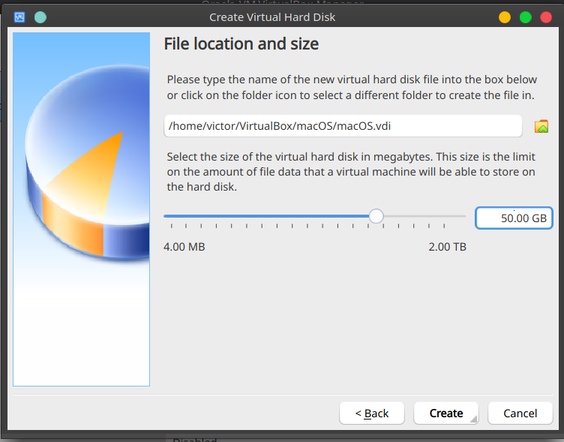
Give it a bare minimum of 25GB (I would advise on at least 50GB if you can spare the space)
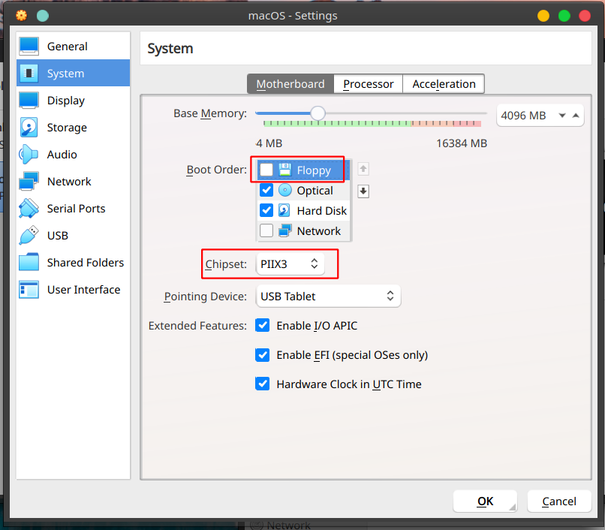
Edit the machine, go into “System => Motherboard” and disable floppy boot and change the chipset to PIIX3
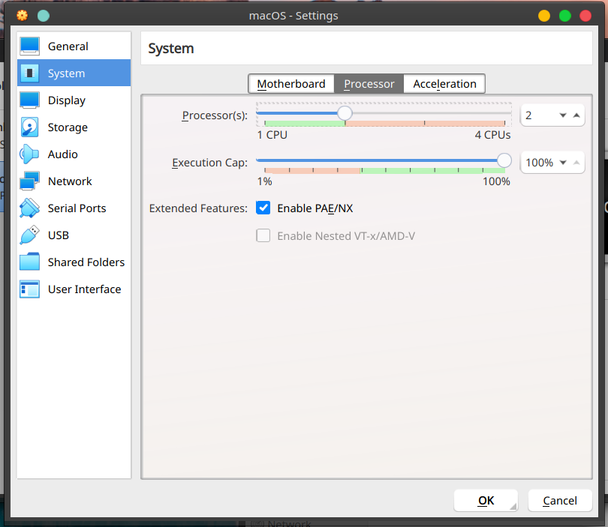
In the processor give more CPU if you can spare
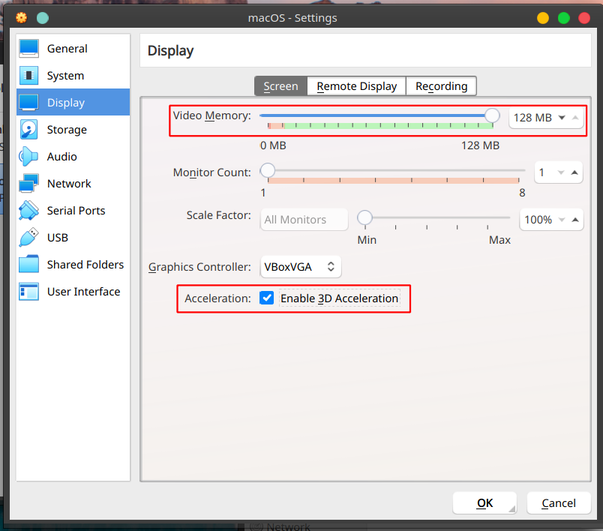
In “Display => Screen” increase the video memory to 128MB and enable 3D acceleration
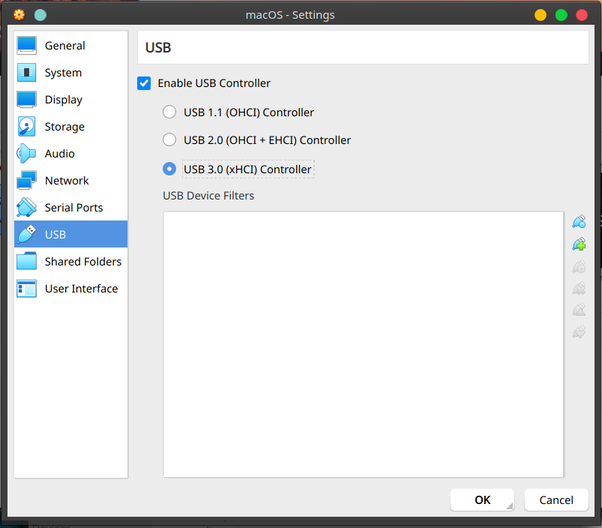
Enable USB 3.0
Note: if you can’t see USB 3.0 you might need to add your user to the vboxusers group
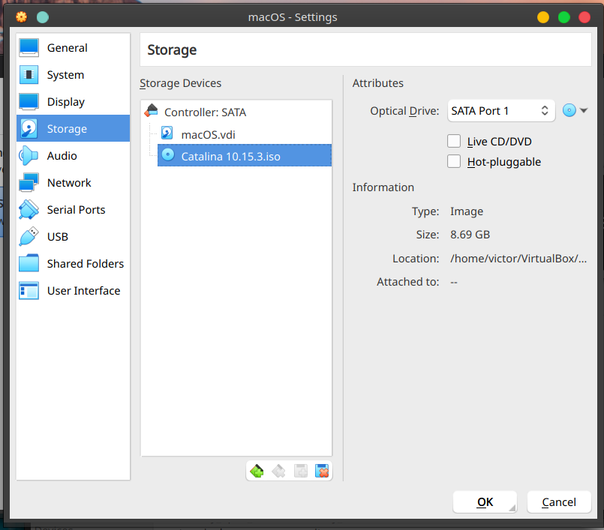
Insert the install ISO
Additional Configuration
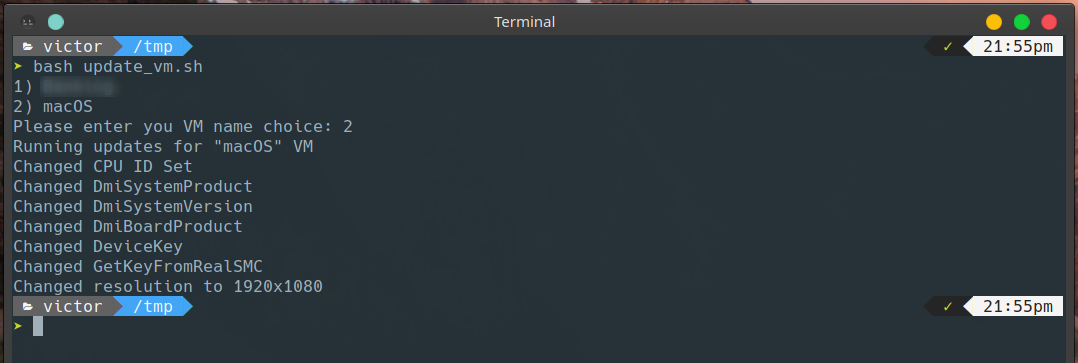
Now we need to run a few vboxmanage commands for additional settings. Either run the lines with vboxmanage from the script below (add your virtual machine name under $vm_name), or save the full script and run it.
Note: the default resolution is set to “1280x1024”. You can change it in the last line of the update code. Make sure to keep it to “640x480, 800x600, 1280x1024, 1440x900, 1900x1200“
#!/bin/bash

PS3='Please select the VM: '
n=0
while read line ; do
  options[n++]="$line"
done <<<"$(vboxmanage list vms | awk '{$NF=""; print $0}' | tr -d '"')"
select opt in "${options[@]}" ; do
  vm_name="$opt"
  break
done

echo "Running updates for \"${vm_name}\" VM"

vboxmanage modifyvm "$vm_name" --cpuidset 00000001 000106e5 00100800 0098e3fd bfebfbff && echo "Changed CPU ID Set" ; sleep .5
vboxmanage setextradata "$vm_name" "VBoxInternal/Devices/efi/0/Config/DmiSystemProduct" "iMac11,3" && echo "Changed DmiSystemProduct" ; sleep .5
vboxmanage setextradata "$vm_name" "VBoxInternal/Devices/efi/0/Config/DmiSystemVersion" "1.0" && echo "Changed DmiSystemVersion" ; sleep .5
vboxmanage setextradata "$vm_name" "VBoxInternal/Devices/efi/0/Config/DmiBoardProduct" "Iloveapple" && echo "Changed DmiBoardProduct" ; sleep .5
vboxmanage setextradata "$vm_name" "VBoxInternal/Devices/smc/0/Config/DeviceKey" "ourhardworkbythesewordsguardedpleasedontsteal(c)AppleComputerInc" && echo "Changed DeviceKey" ; sleep .5
vboxmanage setextradata "$vm_name" "VBoxInternal/Devices/smc/0/Config/GetKeyFromRealSMC" 1 && echo "Changed GetKeyFromRealSMC" ; sleep .5
vboxmanage setextradata "$vm_name" "VBoxInternal2/EfiGraphicsResolution" "1920x1080" && echo "Changed resolution to 1280x1024" ; sleep .5
Installing macOS
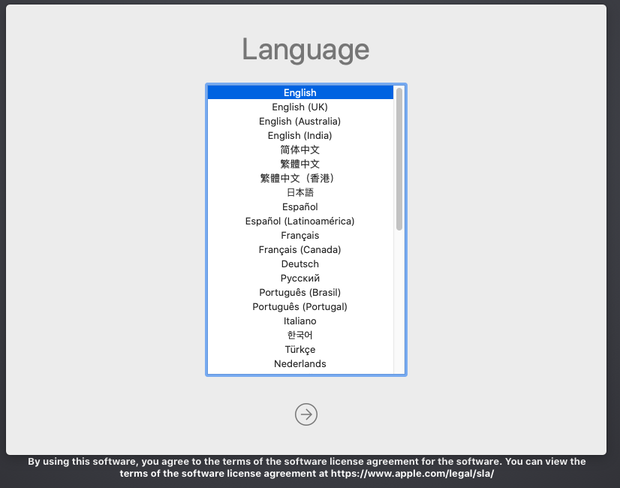
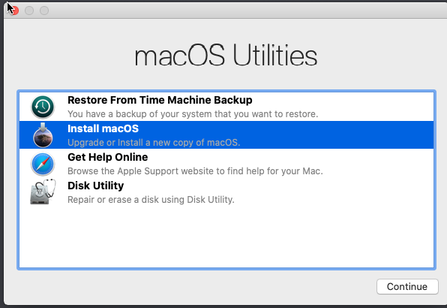
We are now ready for the install. Start the machine and select you language.
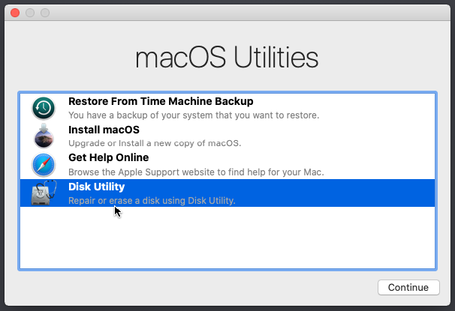
Select disk utility.
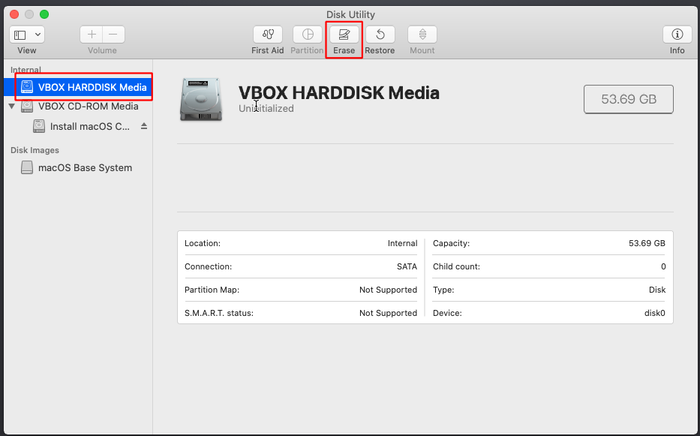
Select the VirtualBox hard disk and click on erase.
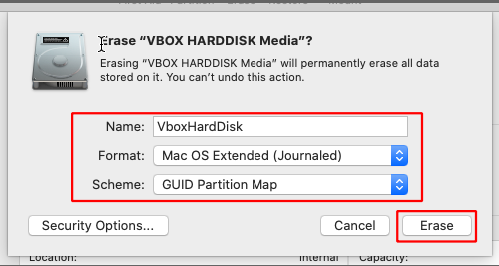
Give it a name, select the same options and click on erase. Close the disk utility when done.
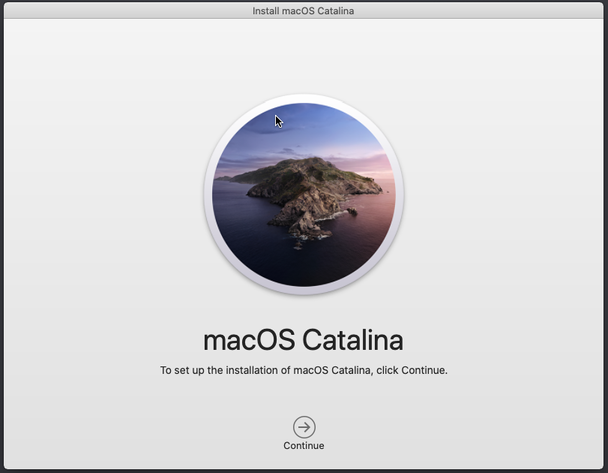
Click on install macOS.
Continue with the install as you would until you are presented with the desktop.
Note that the installer will reboot once in the middle of the install.
Installing Guest Additions
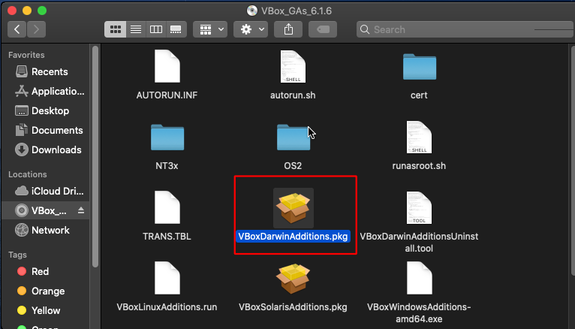
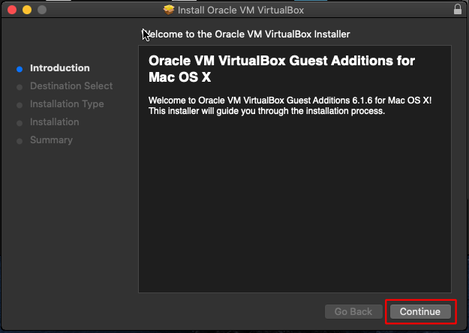
We now need to get Guest Additions installed. Remove the install ISO and mount the guest additions CD. Open it with finder and run the VBoxDarwinAdditions.pkg
Install it as if you would install any other package.
You will most likely get an error message that the install has failed.
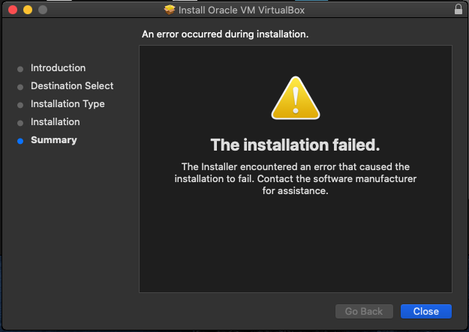
Close everything, unmount the guest additions CD and open a terminal window (Command+Space, type terminal).
Now we need to restart the VM in recovery mode. Type in:
sudo nvram "recovery-boot-mode=unused"
sudo reboot
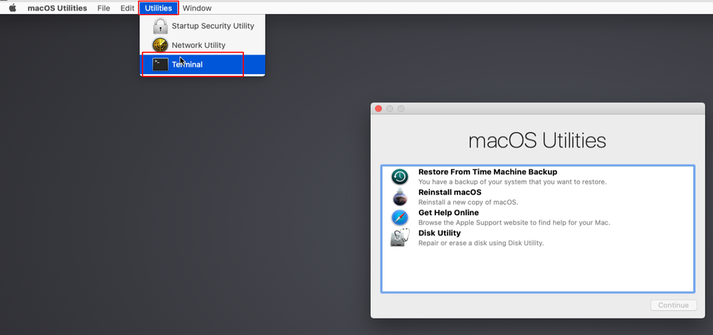
Once it has rebooted into recovery mode, on the top click on “Utilities => Termminal”
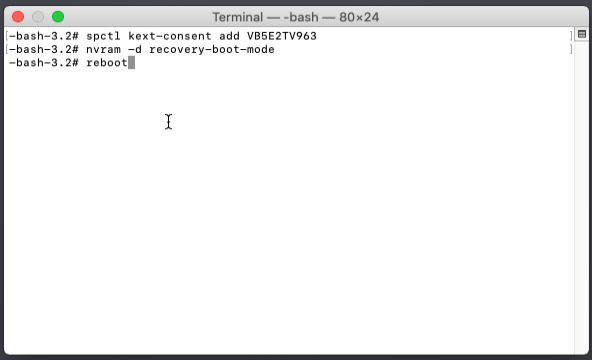
Type in the code below. This is to sign Oracle software as authorized. Then we disable recovery mode and restart the VM.
spctl kext-consent add VB5E2TV963
nvram -d recovery-boot-mode
reboot
When the VM has rebooted you should have guest additions working. Remember that not everything works, but the features below should:
- Copy/Paste
- ~Drag and Drop~ Reported as not working (see comments)
- VirtualBox Shared Folders
- Guest Control